How To Make Your Hardwood Floor Look New Without Sanding
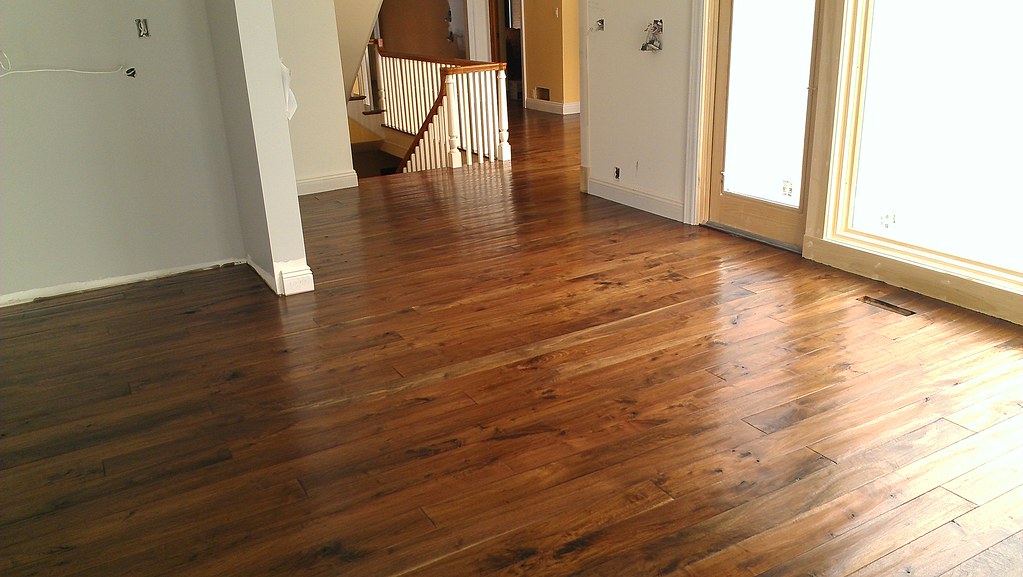
Your hardwood floors don’t have the same luster that they used to… and while they don’t need to be completely sanded down yet, they’ve certainly lost some shine.
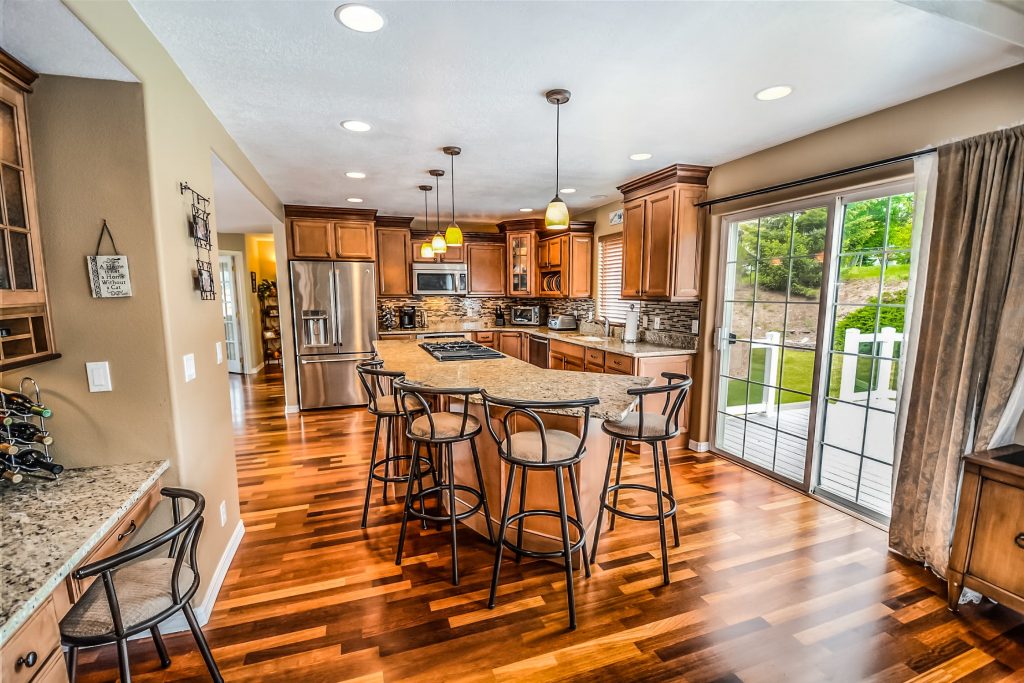
It’s a story we hear pretty often, especially with older houses. Old homes are notorious for having absolutely gorgeous hardwood floors -ones that may need just a little something extra to bring them back to life.
The good news is that with a day of hard work and a small budget, you can take the DIY route and bring those floors back to life without sanding them down at all.
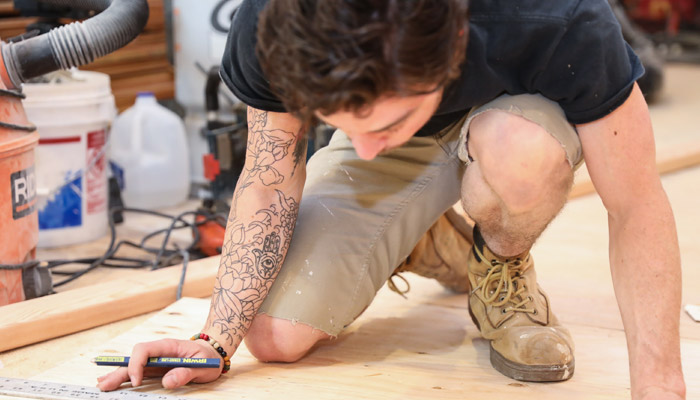
Below are three great ways to upkeep your beautiful hardwood floors in between a professional sanding and refinishing job. However, these methods can be labor-intensive, and most people will choose to trust local hardwood floor professionals with this kind of work to ensure that it is done correctly. If you are of the DIY set, this is what you need to know to reinvigorate your floors on your own.
Understand What Kind of Hardwood Floor You Will Be Fixing
Before any kind of home improvement project, you’re going to want to know what sort of materials you’ll be dealing with. Different floor materials can greatly impact how you’ll be able to refinish your floors, so by understanding what type of flooring you have, you can spare yourself countless headaches down the road.
Potential issues may include:
Floors That Have Been Waxed
Unfortunately, new finish won’t bond to floors that have wax on them. If your wax is worn down, there may still be spots of low foot traffic that have remaining wax. You can test for waxed floors by dropping mineral spirits on a spot without a lot of foot traffic. After a few minutes, wipe up the mineral spirits – if it’s clean, you’re all good. But if the rag comes up brown or shiny, there’s wax present. If this is the case, you may want to simply buff on a fresh coat of wax to get the floors shining again.
Other chemicals
Residue from furniture polish, insecticide, paint, or other chemical cleaners can prevent the new finish from adhering to the floor. The mineral spirit test will work well to make sure your floor is ready for a new look.
Prefinished and Laminated Hardwood Floors
While traditional hardwoods can be restored with or without sanding, it’s almost impossible to sand prefinished or laminated floors. Even options such as luxury vinyl plank flooring typically cannot be sanded. These floors are too thin, and can’t be sanded more than twice or they become damaged. If this is the case, read on for solutions to revive your hardwood floors without sanding.
Buy a DIY Hardwood Floor Refinishing Kit
These can be pretty in-depth, so you definitely need the entire day to get this done. That being said, it’s only about $40 to around $120 depending on the kit and grade you buy.
First, you’ll need to clear the room of all your furniture. You want to have a completely clean slate to work with when starting this project. In your hardwood floor refinishing kit, you will find liquid sander, but don’t worry; while it is abrasive, it is not the same thing as true sandpaper.
After clearing the room, you’ll want to clean the floor thoroughly. After the floors are clean, then apply the liquid sander to the floor and evenly spread it. Don’t leave this on for too long. After evenly coating your floor, use a damp sponge mop with dishwashing detergent to clean it up.
Quickly apply the new finish while the floor is still prepared. The wood grain will be more accepting of the new finish at this point. Make sure to spread it out evenly and avoid leaving any drips behind.
Buff and Recoat
You can buff using what’s called a chemical abrasion kit. It works similarly to the liquid sander that you find in a hardwood floor refinishing kit, but it works slightly differently. You’ll need a buffer for this project, so rent one in advance and move all of your furniture out of the room you want to refinish. Buffer rentals can be pricey, so do your homework to make sure you are getting a good deal.
Use a wood cleaner to thoroughly scour the surface area of your entire floor. While cleaning your hardwood floor, identify main problem areas, such as dark spots or scratches. Directly after cleaning, it is time to buff! Set the buffer on in the middle of the room, and once the necessary sheet is attached to it, begin buffing. If you’ve never used a floor buffer before, this video will help you get started:
You’ll want to wear a mask during this to reduce particle inhalation
Once you’re done buffing and you inspect the floor to make sure it looks good, clean up all the dust. It’s wise to wipe down nearby walls and surfaces as well because buffing dust will get absolutely everywhere. After it’s cleaned up properly, spread your floor finish and even it out.
Revitalizer
Revitalizers are the fastest method on this list, and they’re arguably the most DIY-friendly with the least amount of cost required. There are many different Revitalizers out there, and each one will have it’s own instructions, but for the most part, they simply need to be applied to freshly cleaned hardwood floors to work properly.
Purchase either a squeegee or applicator wand, clean the floor with a dry microfiber rag, then with a mop to get rid of any stubborn, stuck-on messes that can’t be removed with the dry cloth.
Once that’s done, spread the revitalizer. The hardest part is making sure the coat spreads nice and even. Consider opening a window as it has some fumes, and once everything is done, let it dry. The drying period takes a minimum of twenty-four hours, although it may take longer depending on the specific chemical you purchase.
Test Before You Try
As with any new thing, test, test, test before you commit. The last thing you want is to go through the whole process of cleaning, clearing away furniture, and spending hours refinishing your floors, only to find that the new finish flakes off, or won’t bond properly.
This just leads to larger expenses down the road, in addition to costing you valuable time. So take a few moments to check in advance to make sure nothing is going on with your floors that might prevent a new finish from adhering.
One simple test you can do is to tape off a small section of your floor, and rough the floor with a sanding screen to test your refinishing materials. If the floor flakes when you scrape a coin with it, or if it has a bumpy texture, sanding your floors may be the best option for your project.
How Much Does it Cost to Refinish Hardwood Floors Yourself?
Since there are so many different options for refinishing your hardwood floors, the cost will inevitably vary depending on which method you choose. You’ll need to factor in whether or not you will rent a buffer, or purchase a DIY kit. For any method, you’ll need cleaning supplies, respiratory protection, and various brushes, squeegees, or sponges.
Is it Cheaper to Refinish or Replace Hardwood Floors?
Although refinishing will cost time and money, the final bill will almost certainly be cheaper than replacing all the hardwood floors. When you replace, you not only have to pay for the new flooring, but also the labor for tearing out and discarding the old floor surface.
When You Might Need to Sand
Unfortunately, for some projects, renewing your hardwood floors just isn’t going to work unless you sand them first. As discussed above, if chemicals or wax have built up on your floors, you’ll want to sand them away so the new finish can bond.
You may also want to consider if your hardwood floor has deep scratches or dents, or if the finish is completely worn away in high foot traffic areas. In this case, sanding will give you the cleanest finish. You can still choose to refinish without sanding, but the new stain may accentuate existing scratches in the wood rather than cover them.
Water damage or pet stains that penetrate the finish into the actual floorboards may also require a full on sanding of the floor.
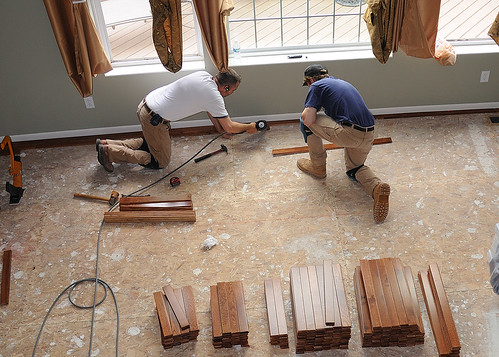
Know When To Call A Professional
If you don’t have the time to apply the methods above, or you believe the flooring is beyond surface-level revitalization, professional sanding and refinishing in Philadelphia is always an option. Contact us today, or call (215) 515-7355 and ask for Steve.
Doing a DIY home improvement project is a great way to learn more about your home, and we hope this guide was helpful to the handy people out there with a passion for high quality – just like us!
Recent Hardwood Flooring Projects in Philadelphia & NJ


0 Comments