Steps For The Best DIY Hardwood Floor Refinishing
One of the benefits of hardwood floors is that they are durable and can last a lifetime. However, everyday use causes a level of wear that requires the eventual need for refinishing. Embarking on a hardwood floor refinishing process can be tricky. The job is laborious and involves several time-consuming steps. If you can pull it off, it is one of those DIY projects that can be incredibly rewarding. However, as you get farther into the process, never be scared to call a professional hardwood floor sanding and refinishing team for help, as these projects can get tricky.
This article will outline the steps of a DIY hardwood floor refinishing job.
Step 1: Prep Your Floors
Before refinishing your wood floor, you must take these steps:
- Empty the room of all furniture and floor coverings.
- Hammer in any protruding nails. An easy way to find them is by sliding a spackle knife blade along the floor.
- Look for creaks and secure any loose floorboards using finishing nails.
- Remove all floor debris using a vacuum or mop.
- Be sure to seal any air vents. That will prevent dust from entering the ductwork during the sanding process. Use plastic sheets to seal all of the doors and keep the dust from other rooms.
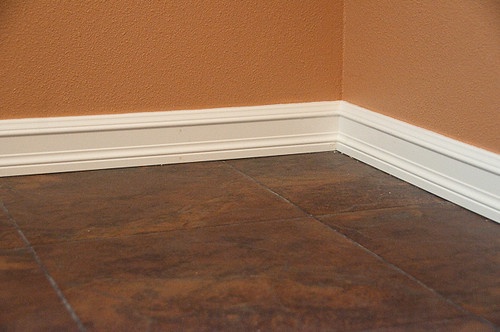
Step 2: Remove Any Base Molding
Before refinishing your floor using a sander, pull up any molding from where your floor and the wall meet. You can use a standard pry bar to pry the molding up and use scraps of wood to protect your baseboard. Remember to number or label every piece of molding as it is removed. That will make putting it back much easier.
Step 3: Sand Your Floors
By sanding your hardwood floor, you can eliminate stains and scratches. Be aware that it may be difficult to completely alleviate deep gouges or patches of the wood flooring that are discolored.
Follow these steps to sand your hardwood floors:
- Begin with a belt or drum sander and move along the grain following the floorboard lengthwise.
- Be sure to wear safety goggles, ear protection, and dust masks whenever you use the drum sander.
- A drum sander should be worked in a back and forth motion across lengths of three to four feet.
- To remove scratches, you can utilize overlapping strokes 1/3 the width of the belt.
- Begin with coarse 36-40 grit sandpaper, progressing to a 60 grit medium sandpaper, and finish using a fine 100 grit sandpaper. You mustn’t skip this critical grade progression.
- For the best results, be sure to replace the belt after 250 sq. ft. of sanding.
- Between your different grade progressions, be sure to vacuum and sweep to remove any dust or debris.
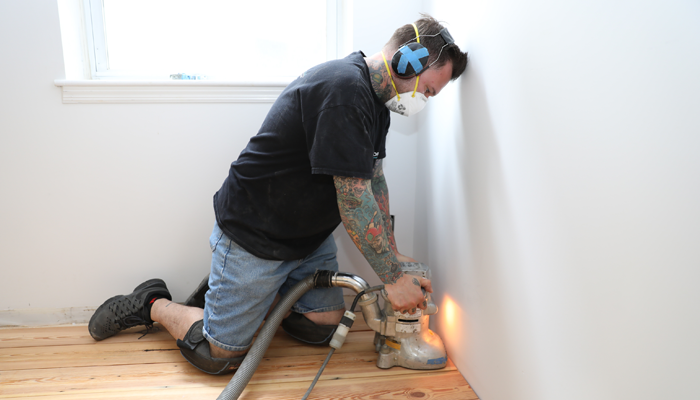
Step 4: Sand Your Edges and Your Corners
An orbital sander or floor edger can be used to tackle edges, corners, and smaller areas like closet floors, stairs, and bathrooms. Edgers can be tough to maneuver, so be sure to practice your edging techniques on wood scraps before you start. Like with using a drum sander, begin by using coarse sandpaper and progress to finer sandpaper grades. If your home has smaller areas of flooring that your edger can’t reach, you can remove old finishes by hand, using a scraper and 80- 100-grit paper.
Step 5: Begin Screen-Sanding
Next, you’ll want to use a buffer that is fitted with a fine-grit sanding screen. That will help level out any unevenness from the edger and drum sander. It will also help to buff out any sanding scratches. That is the type of detail work that will give your DIY floor refinishing project a professional look. Using a buffer can take some getting used to. It will swing left or right, depending on the position of the handle. Use broad arcs to achieve a smooth floor surface.
Step 6: Remove Any Dust
Next, you will need to thoroughly sweep, vacuum, and follow up using tack cloth in order to remove as much dust as possible. Dust, hair, and similar debris will leave behind imperfections in your floor’s finish.
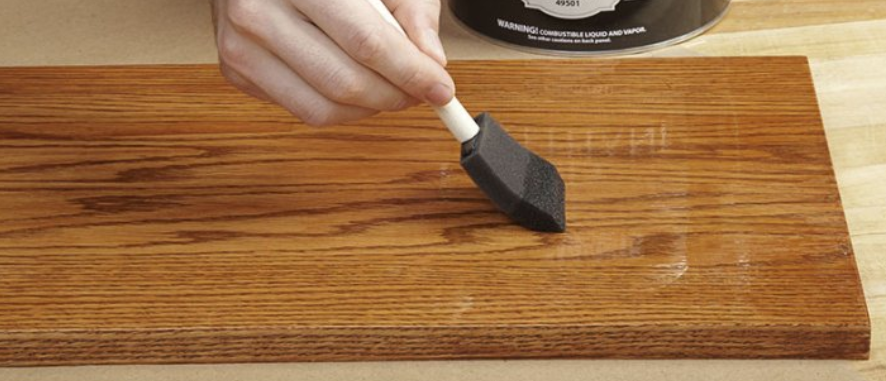
Step 7: Apply Wood Stain
To improve or change your floor’s color, you can apply a wood floor stain.
Here are the steps:
- Choose a stain based on your desired color and woodfloor type.
- Use foam applicator pads to apply the wood stain moving with the grain.
- Choose single manageable areas to work on in intervals. Four square feet is a good start.
- Most manufacturers recommend that you remove any excess stain along the way, usually just a couple of minutes after applying.
- You can use paper towels or cotton cloths to remove the excess stain.
- Allow your stain to properly dry in accordance with the directions before you apply the finish.
Step 8: Apply Wood Finish
You’ll want to choose your floor’s protective coat by weighing these factors:
A water-based polyurethane finish or lacquer will dry quickly. That may pose a challenge during the application.
An oil-based polyurethane finish will dry more slowly, which will give you additional time to get a smooth coat. If you go this route, you should consider wearing respirators to protect yourself from fumes during the application.
You’ll want to follow these woodfloor finish application steps:
- Use lamb’s wool applicators to apply the finish in smooth and even lines. Be careful to avoid drips.
- Use either four coats of a water-based wood finish or three coats of an oil-based wood finish.
- After each coat is dry, you should lightly sand your floor using #000 steel wool or 220-girt paper. Most finishes will require 24 hours of drying time.
- After each coat, vacuum any dust and then apply the next coat.
- Once your finishing is complete, you can reattach the molding
DIY Hardwood Floor Refinishing Isn’t Easy
As we mentioned before, attempting to refinish your hardwood floors properly can be a tough job, and the failure to correctly follow these steps can result in costly damage. That’s why sometimes it is best to leave the floor refinishing to the professionals.
When you contact the Pennsylvania Wood Floor Experts at Artisan Wood Floors, you can trust that you are reaching out to a wood floor professional who can repair, sand, and refinish your floor for you.
Call Artisan Wood Floors today at (215) 515-7355 and ask for Steve!
Recent Hardwood Flooring Projects in Philadelphia & NJ


0 Comments